Friday, November 29, 2013

FREE SHIPPING FRIDAY!

 Happy Black Friday!

A Get Crafty with Lisa Exclusive

I am offering FREE SHIPPING for every order of $50 or greater* placed in my Online Store TODAY - Friday, November 29th!  

U.S. customers only please.

*excluding tax & shipping

Be sure to sign in (or create an account if you are new) and be sure that you see LISA RHINE as your demonstrator BEFORE you place your order.

 I will mail your REBATE CHECK (the amount paid for shipping) on Monday, December 2nd!

While you are shopping: 

From my family to yours, thank you & I hope that you had a happy Thanksgiving!

Lisa

Thursday, November 28, 2013

Happy Thanksgiving & FREE SHIPPING!

I am so thankful for each and every one of you who take the time to visit me here at Get Crafty with Lisa.  

May God bless you this Thanksgiving, as you have blessed me!


As a Thank You, I am offering FREE SHIPPING for every order of $50 or greater* placed in my Online Store TODAY - Friday, November 29th!  

U.S. customers only please.

*excluding tax & shipping

Be sure to sign in (or create an account if you are new) and be sure that you see LISA RHINE as your demonstrator BEFORE you place your order.

 I will mail your REBATE CHECK (the amount paid for shipping) on Monday, December 2nd!

While you are shopping: 

From my family to yours, thank you & Happy Thanksgiving!

Lisa

Wednesday, November 27, 2013

What's Hot Wednesdays: Bow Ties & A Surprise!

Hi Crafty Friends!  It's Wednesday, so you know what that means…it's time for another What's Hot Wednesday's share! 

It occurred to me the other day that I have seen more and more men donning beards and bow ties!  The beards are likely, but not necessarily, because of the American Cancer Society's No Shave November to raise awareness about cancer.  But as for the bow ties, I'm not so sure.


Above are just some of the pictures I've spotted around Pinterest and the Web of bow ties for babies to men.  

Borrowing from my previous card design, I knew just how to express this trend in the form of a card!  


When I created the Hoping Your Christmas Card a few months ago, one of my fellow Stampin' Up! Demonstrators asked me if it was a "pocket card."  It wasn't, but her question got my wheels a turnin' to give that design a try.  So, this is my try!  

Surprise…it's a Pocket Card!


Designing this pocket card was so easy, but with little time on my hands because of the fast-approaching Thanksgiving holiday, I will share a quick tutorial with you next week.  Sorry to make you wait, but it will be worth it!


I just LOVE these colors and patterns together!  Don't you just LOVE that Season of Style Designer Series Paper?!  LOVE that Gift Bow Bigz L Die too!  That bow tie looks just like one a man would wear.

So, what do you think?  Please leave me a comment below.


All of the supplies I used are listed below.  Buy what you need to make your holiday cards too!

Thanks for stopping by!  Until next time, happy crafting!

SUPPLIES :: Click on the links below to Shop Now!

InLinkz

Lisa

Shop in my Online Store (It's open 24/7!)

Our AMAZING Holiday Sale HERE!

This Week's Weekly Deals HERE!

Join Me & Stampin' Up! HERE!

Tuesday, November 26, 2013

Birthday Star

Hi Everyone!  I'm going to get right down to business.  I couldn't wait to share this Birthday Star Card with you today!


This card has stars, stripes, and polka dots…some of my favorite things!  I got my inspiration from a few cards I saw on Pinterest, and my goal was to "color outside of the lines."


The Remembering Your Birthday Stamp Set is my go-to stamp set for all things birthday related.  But the star stamp surprisingly came from the Snow Day Stamp Set.  


The Steps:
  1. Cut a 4-1/4" x 5-1/2" piece of polka dot cardstock for your card base.
  2. Cut a long banner out of striped cardstock.
  3. Prior to die cutting your sentiment, stamp your sentiment on Whisper White in Basic Black and stamp around it with the star stamp using Real Red.
  4. Die cut the sentiment and the stars.
  5. Adhere the striped banner onto the polka dot card base with SNAIL.
  6. Adhere the die cut sentiment with the stars onto the banner with Stampin' Dimensionals.
  7. Finish it off the card by adding three Rhinestone Basic Jewels to the lower right corner of the banner.

I hope that you like this card and feel inspired to try something "out of the box" today.  Please let me know what you think.

I'll be back tomorrow with What's Hot Wednesday's share.  I can't wait to share it!  It's a good one!  Any guesses?

Thanks for stopping by!  Until next time, happy crafting!

SUPPLIES :: Click on the links below to Shop Now!

InLinkz

Lisa

Shop in my Online Store (It's open 24/7!)

Our AMAZING Holiday Sale HERE!

This Week's Weekly Deals HERE!

Join Me & Stampin' Up! HERE!

Monday, November 25, 2013

No Peeking Gift Box & Card

Hi Friends!  The votes have been tallied, and you all want to see more of EVERYTHING!  So, over the next two weeks, I will be sure to share Christmas cards, Christmas packaging items AND All Occasion cards.  Thank you to all who voted!

My Get Crafty with Lisa Facebook page currently has 67 likes, so there's still time to make it to 100 likes by Friday!  If you haven't had a chance to "like" it yet, please click HERE.

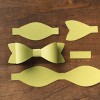
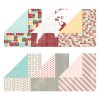
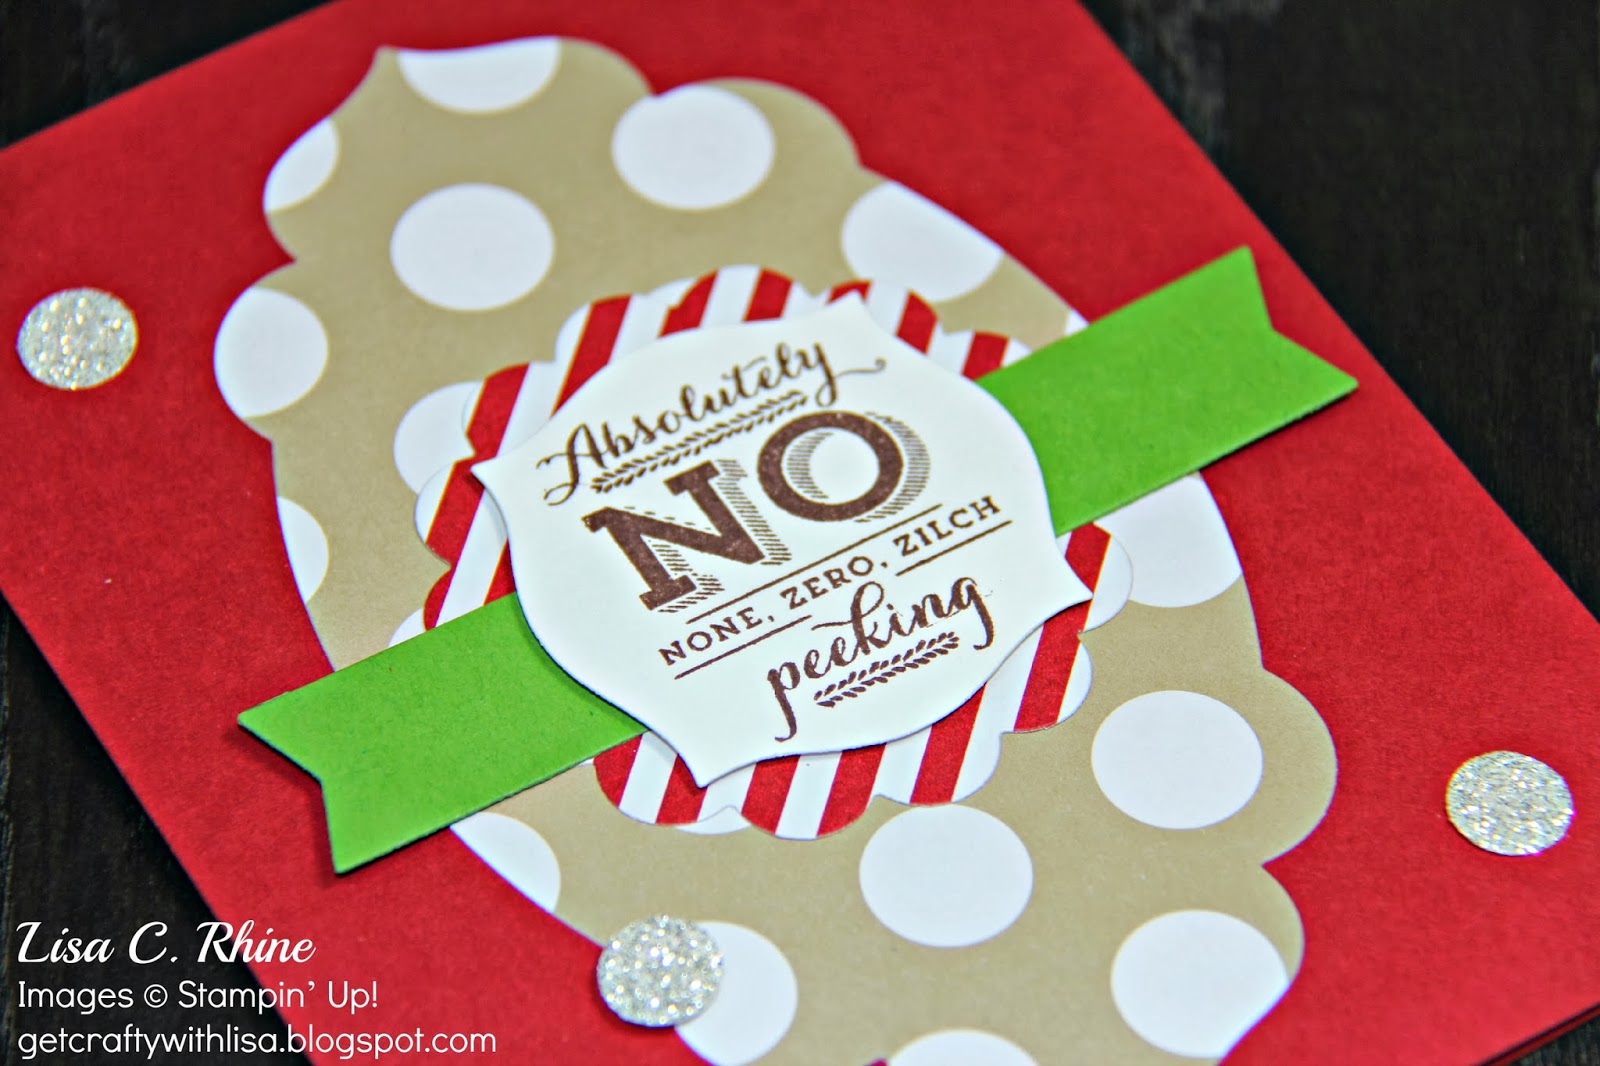
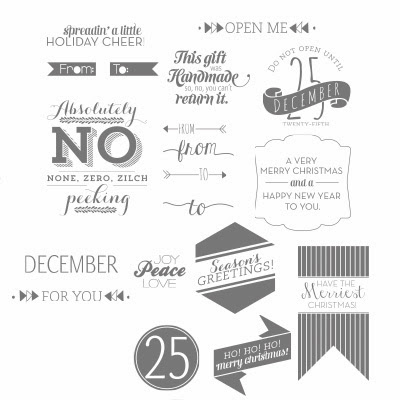
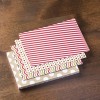
Now for the good stuff!  For today's share, I made this No Peeking Gift Box and Card.  The two are a mix of polka dots, stripes, and bold solid colors.  I used lots of die cut elements to create them, and I had a blast every step of the way!  


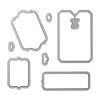
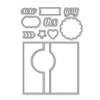
 For this project, I used four different Die sets:
  • Gift Bow Bigz L Die
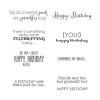
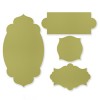
  • Chalk Talk Framelits Dies
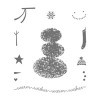
  • Apothecary Accents Dies
  • Circle Card Thinlits Dies
I also got to play with the Christmas Tagables Photopolymer Stamp Set.  What a fun stamp set!  


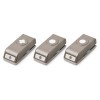
For small gifties like cookies, candies and jewelry items, the Decorative Window Gift Boxes are perfect! 


When I set out to make this card, I first used the Pop & Place Holiday Gift Tags Book.  I love the tags, but I found that I had to use a sanding block on the edges after I popped them out.  I like quick and easy, so if you buy the Tags Book, be sure to have your sanding block handy.

I LOVE how this gift box and card turned out!  There's just the right amount of color and patterns…not too much of either.  

If you like what you see too, please feel free to pin any of the images above to your crafty Pinterest board(s).  Just hover your mouse over the images you'd like to pin, and the "Pin It" button will appear, making pinning easy breezy.

Thanks for stopping by!  Until next time, happy crafting!

SUPPLIES :: Click on the links below to Shop Now!

InLinkz

Lisa

Shop in my Online Store (It's open 24/7!)

Our AMAZING Holiday Sale HERE!

This Week's Weekly Deals HERE!

Join Me & Stampin' Up! HERE!
Related Posts Plugin for WordPress, Blogger...